
 |
| Isn't this weathered wood gorgeous!! Found it in a field near a walking trail. Love the color and the chippy paint. |
It was suggested to use a scroll saw but I do not have one. I went after the wood scraps with a jigsaw. Jigsaws are great if the length of wood is long enough to pin down on one end or you own a clamp and saw table. I own neither. I use a small table (pic on left) and my knee for support, the jigsaw can be aggressive.

The weathered wood was a bit too brittle and shattered from the motion, nothing Gorilla Glue couldn't fix.

 The smaller pieces had their own gaps because it was harder to hold the smaller pieces still against the crazy motions of the jigsaw, even after adjusting the speed. I actually like that the pieces aren't perfect, adds to the rustic charm.
The back star was whitewashed & distressed. The front star was stained and distressed.
 Staple gun to the back and glue in between the pieces helped secure the stars.
I really like the wire holding these two stars together (with glue in between the pieces). They are both their natural wood color sanded down.

One wire star was displayed in a frame found in a curb alert pile that it was painted with homemade chalk paint and distressed.

Natural wood color next to stained (Early American by minwax) star.

All these little stars and frame have sold.
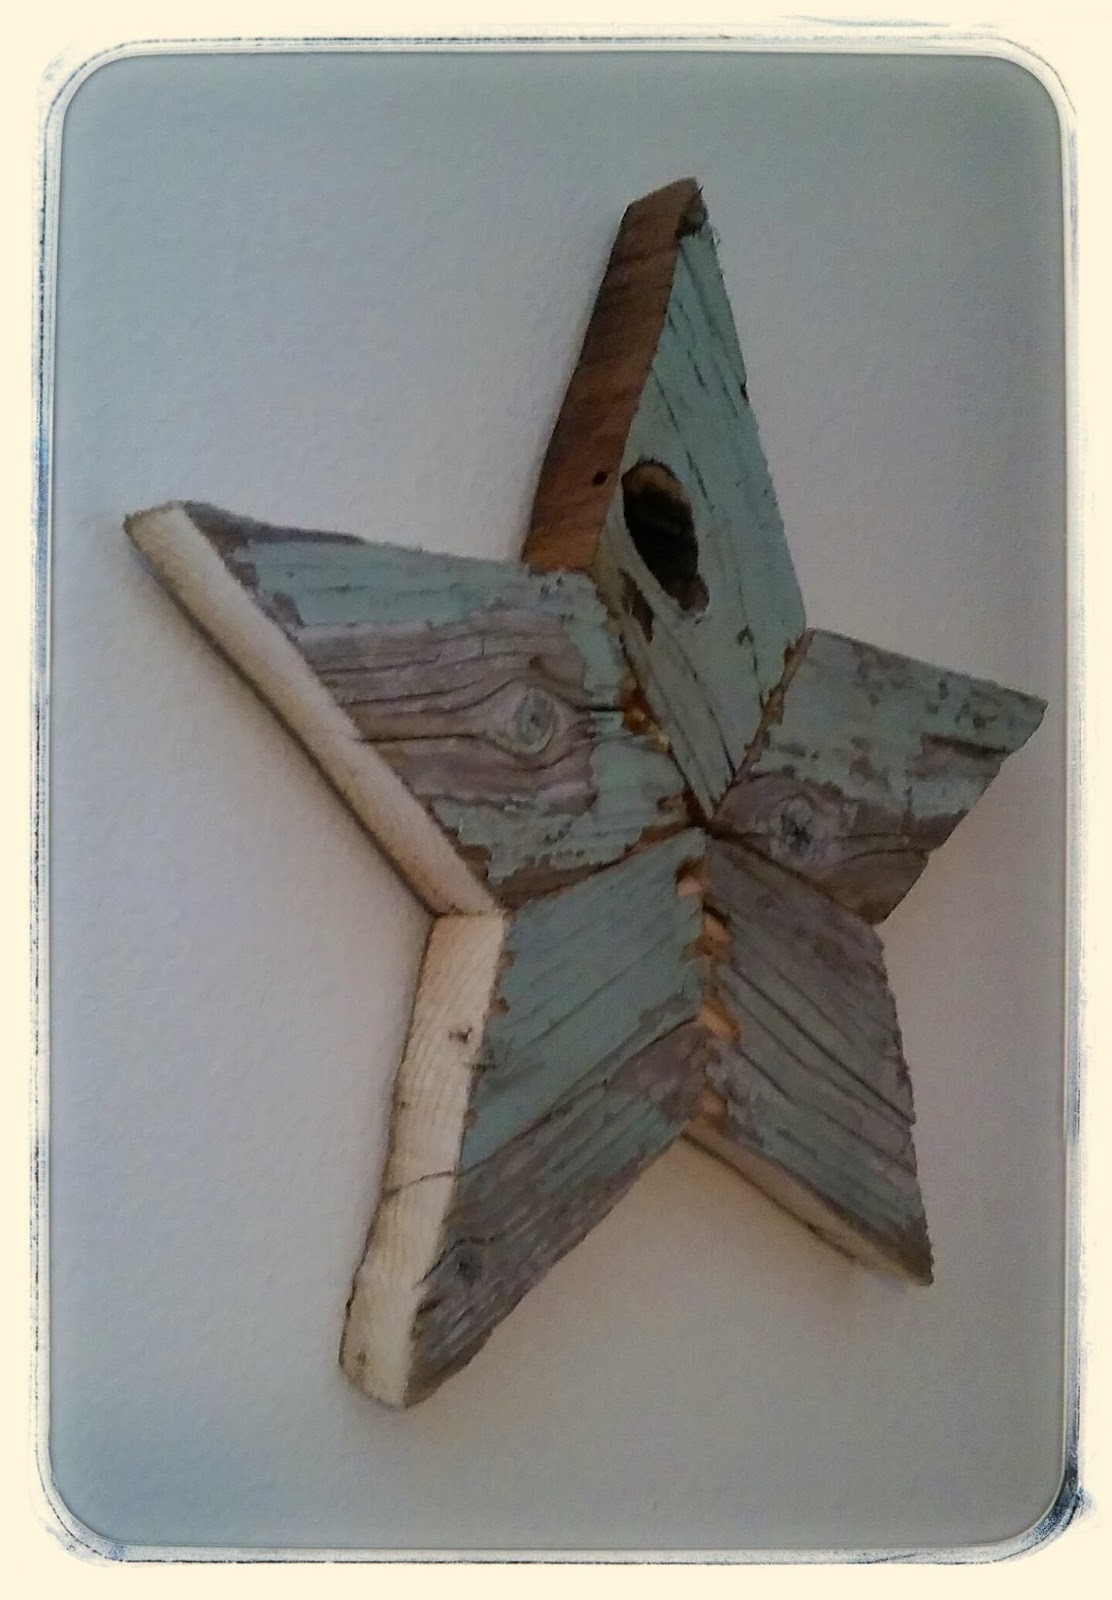
But I'm keeping this one.
I love love love this star too much to part with it. It fits my decor colors nicely and is hanging in my dining room right now. I added nothing to the color, that's 100% left-out-in-the-elements-weathering.

Since we're on the topic of stars...
Found this star garland at Target in the $3 tub just before the 4th of July. Removed one star and painted black with white lettering. They hang above a reclaimed wood arch I added to my booth entrance.

Its part of my effort to create a "look" for my booth to set it apart from the other gazillion booths in the store. I also plan on adding a 3-D sign above the arch...but I've been saying that the past two months. I'll get there eventually.

Pin friendly picture

Great idea Audra, a fresh take for recycled boards too. Your 'keeper' star has great colour and texture.
ReplyDeleteJoy
I knew you were going to say that the stars sold...they are so cute. Easy to see why!! Fabulous.
ReplyDeleteWhat a great idea! We would love you to share and join our Dishing It & Digging It Link Party. It's live every Sunday @4pm! We'd love to have some of your creative projects! :)
ReplyDeletehttp://www.thestonybrookhouse.com/2016/08/dishing-it-digging-it-link-party-108.html
I love stars too and need to make some of these for my living room! What a great find with that pretty wood too!
ReplyDelete~Trisha
What a fun project! Wonderful job! Thank you so much for sharing this with us at Dishing It & Digging It this week :)
ReplyDeleteThose looks wonderful!
ReplyDeleteNice job of putting those stars together. No easy, I am sure.
ReplyDeleteCute and a great tutorial! You are my pick for this next week for the Talk of the Town Link party!
ReplyDeleteGreat idea!
ReplyDeletemany greetings
Uwe